Building a working study
Note
This documentation page is currently under development. Sorry for that!
We’re actively working on this, so there might be parts that are missing or incomplete. Please be invited to start with the tutorial nonetheless, the additional parts are coming very soon.
If you find something awry or missing content, please don’t hesitate to send us a line or two, we’re happy to explain things further or to give you a personal tutorial via Skype/Hangouts/etc. or in person.
Sorry for the trouble!
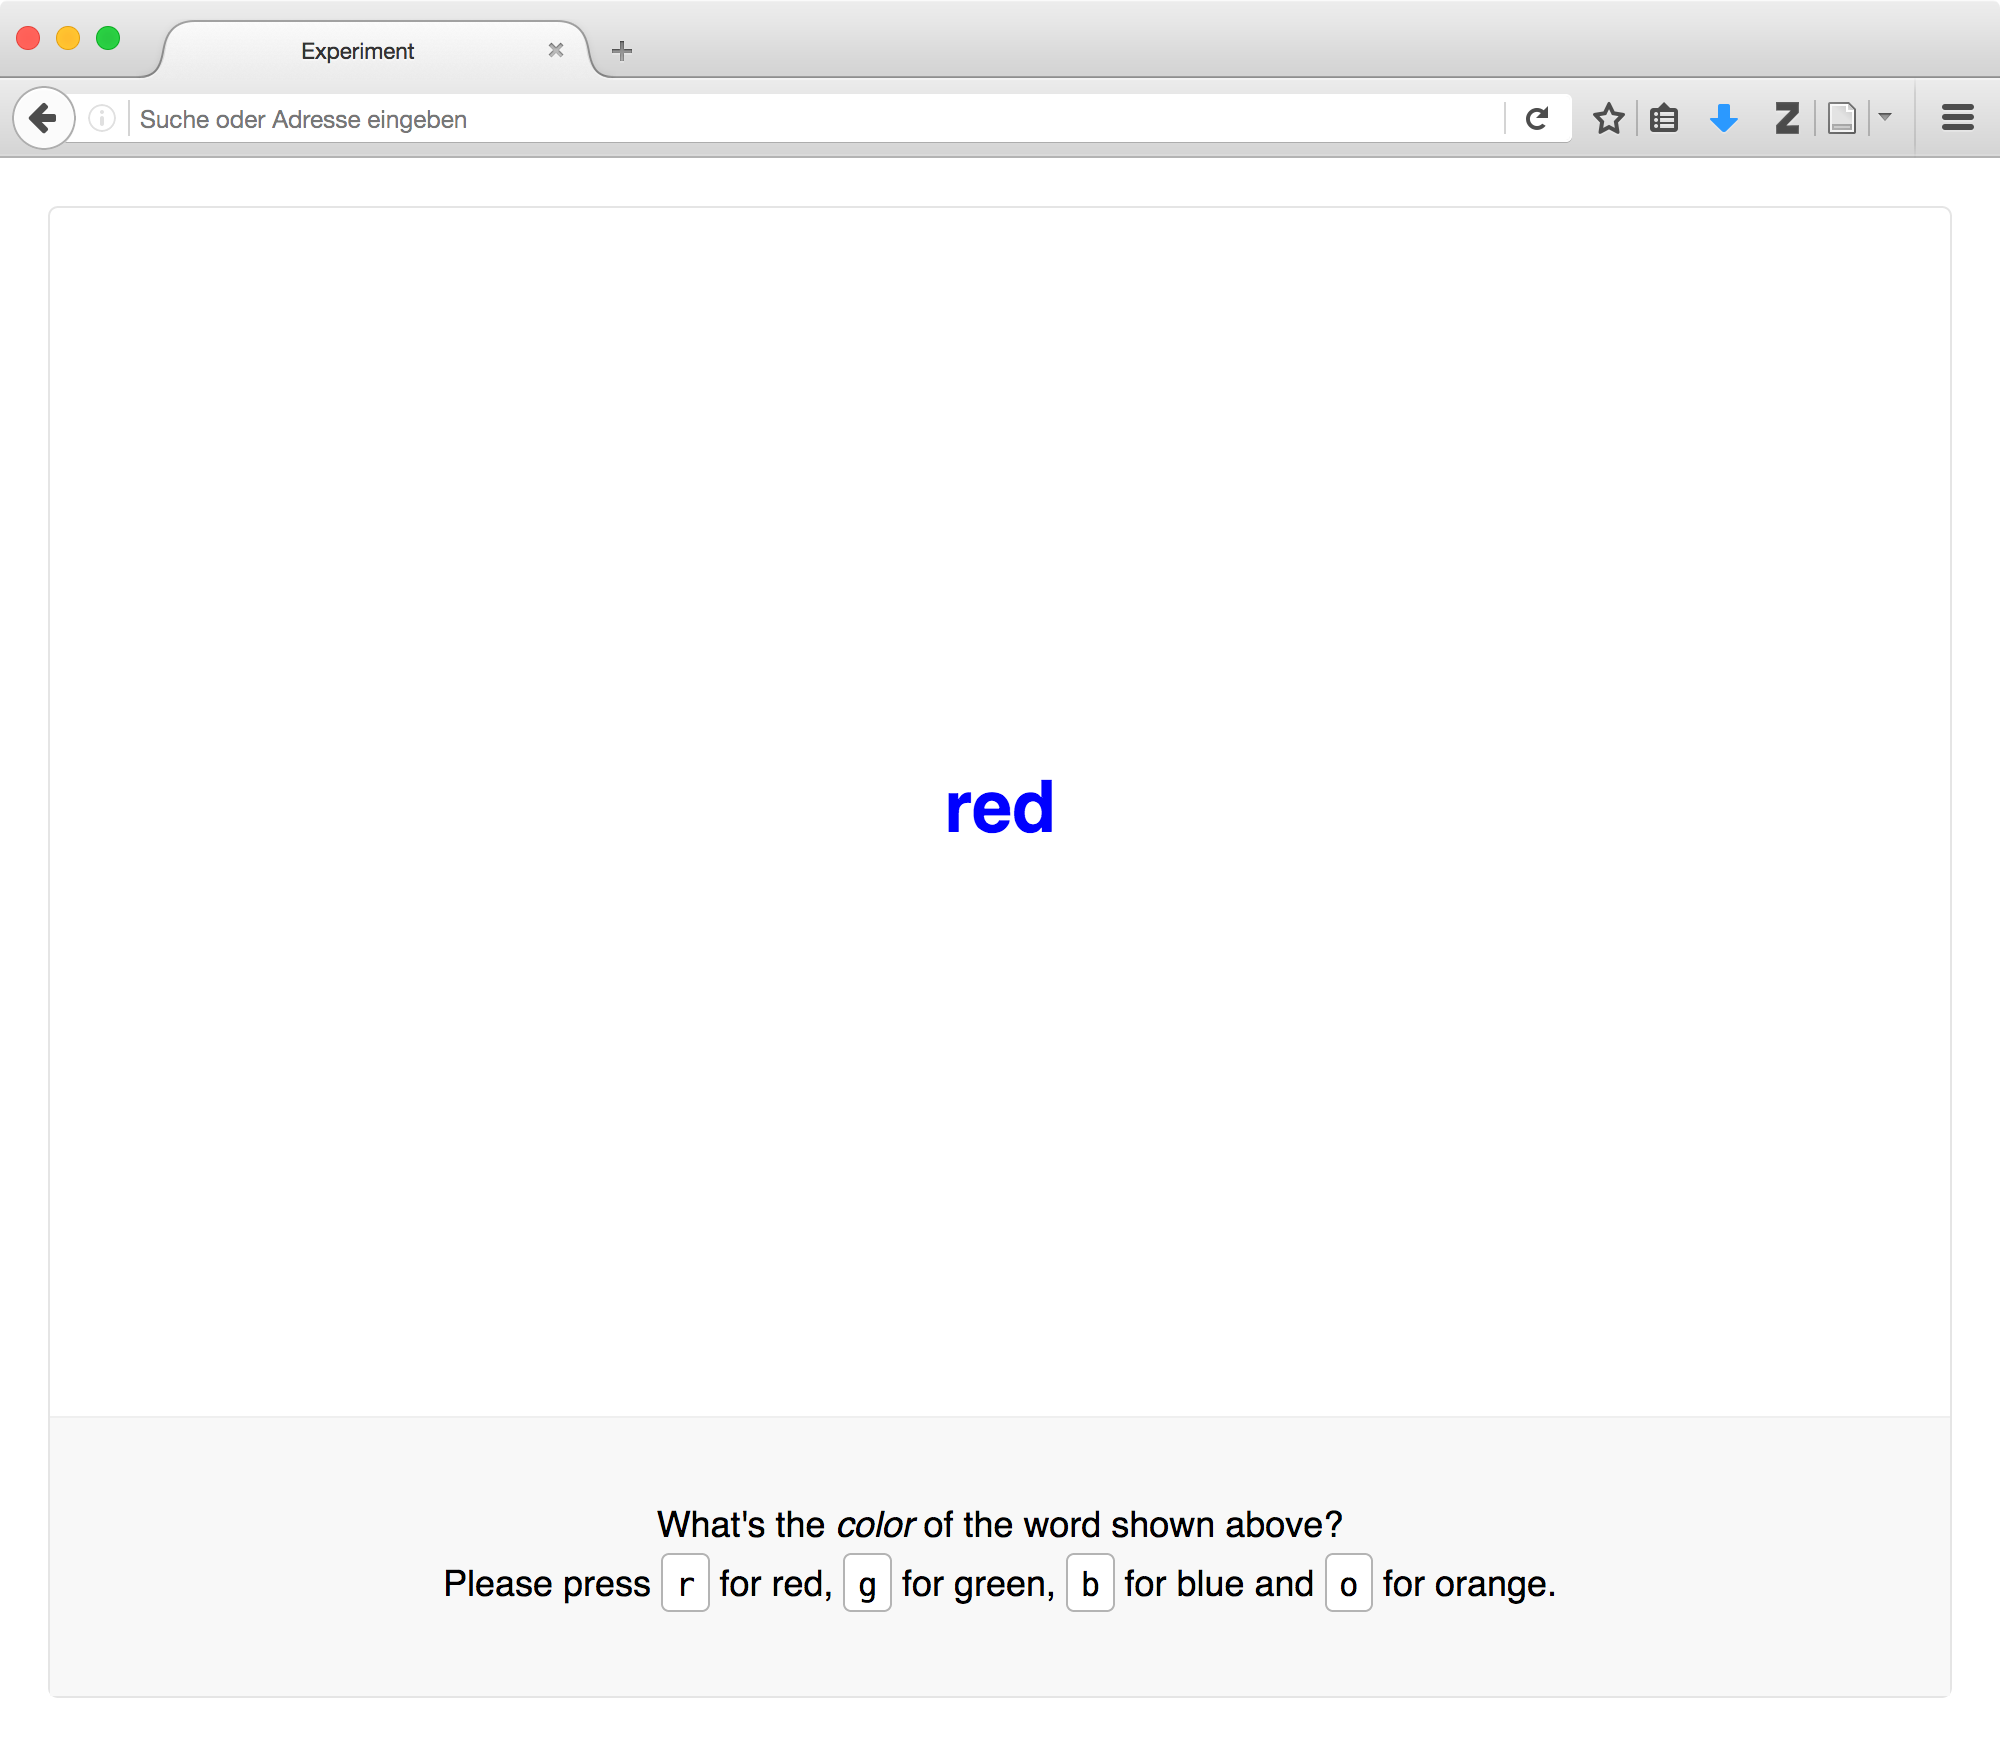
This is where we build our first working study! Specifically, we’re going to create an experiment that demonstrates the Stroop effect. This effect describes the interference between a written word’s content and its visual characteristics: John Ridley Stroop demonstrated that naming the color of a word is harder (takes longer) when the word denotes a different color. An example for such an incongruent display might be the word red. Conversely, in the word and color can correspond (be congruent), which makes the task easier.
Picking back up
This section builds on the previous one, in which you downloaded the starter
kit and took at first look
how a minimal ‘experiment’ was constructed from individual components. You also
made the code run by adding or uncommenting experiment.run(). We’ll build
upon the same code, so please make sure you have the files and an editor handy.
If didn’t go through the initial steps and don’t feel confident looking at the starter kit code, please go back and take a quick look. You’re always welcome to reach out if you need help right now or in any of the following steps.
With that, let’s get going!
Thinking about a study’s structure
When we build our studies, we’ll think about them in a particular way: As a sequence of individual building blocks. What does that mean?
Every component performs a particular function – it might show some information onscreen, play a sound, or do some processing in the background. Each component prepares, often at the beginning of the experiment, readying for its task, and will run later, to perform its main function.

As just noted, every component’s moment in the spotlight is when it runs. This will very often mean showing some information, and then waiting for a response. A typical experiment will consist of many such components strung together like this:

When we build experiments, components will not only be responsible for presenting stimuli and collecting responses. We will use different components to tie the structure of our experiment together. For example, the stimuli above are shown sequentially, and therefore together constitute a sequence. Accordingly, we’ll use a sequence component to group them together.

In many ways, a sequence component behaves exactly as a standard component would: It prepares by signaling all nested components to prepare themselves, and it runs by running them in sequence.
A sequence differs from a stimulus component in that it does not provide any new information to the viewers. Instead, it is in charge of flow control: It makes sure that other components run when they are supposed to. These nested components can then do the actual work of presenting information, or they might themselves organize the flow of yet another set of components.
We’ll always combine both types, presentational components and flow control components, to build studies.
Building a Stroop screen
Knowing what you now know, what might be a good component to start building a Stroop experiment? We’re going to start with the main stimulus display itself, the part that displays the word and color, and collects the response.
First, let’s think about how to design the stimulus. For the purposes of this
tutorial, we’ll use HTML to tell the browser what we’d like to show
onscreen [1]. We’d like to show a word, and give it a color. The syntax
required to do this will probably look somewhat like the following:
<div style="color: red">
  blue
</div>
Given this content, let’s build a component that will make it visible to the
participants by inserting the HTML syntax into the page. This is the purpose
of the html.Screen() component that you may have noticed in the
starter kit code. By extending our earlier ‘hello world’ example, we might
create the following snippet:
new lab.html.Screen({
  content: '<div style="color: red"> blue </div>',
})
This creates a new html.Screen() with our content. When it runs, the
short HTML code will be inserted into the page, specifically into the
element whose data-labjs-section attribute is main (this default can be
changed).
There are a few details to note here: First, the screen is constructed using
options which are supplied in brackets – and not only regular ones, but also
curly braces. This is because the options are defined by a dictionary (you
might also use the term object) which has pairs of keys and values, separated by
a colon. Right now, only one option is provided: The content in form of our
HTML text. If we were to add further options, we would need to insert commas
between them, a fact that is hinted at by the comma behind the option. Second,
it’s worth noting that the the quotation marks around and with the HTML code
are different. This is because the simple quotation marks denote the beginning
and the end of the string, whereas the double quotation marks are part of its
content. Using single quotation marks within the HTML code would end the
string prematurely and cause an error.
If you’ve changed the code to correspond to the above example and reloaded the page in your browser, you should see the word blue on the screen, written in red. It’s not (yet) as pretty as it could be, but it’ll do for the moment: We’ll get around to styling our study later!
| [1] | This is not the only way to design the display. If you’re used to writing code that draws shapes and text at exact screen coordinates, don’t worry: That is also possible using canvas-based displays. Both approaches have their advantages and disadvantages: We’ll discuss these at a later point. For now, we decided to give up some control over the precise display in return for a simpler method of stimulus construction. |