Getting Started
So how do you build a ``lab.js`` study in pure code? This is what we’d like to show you in the following, by building a very simple experiment. We’ll cover more details in the subsequent parts of the tutorial.
First, let’s get you set up: You’ll need a browser, and a basic understanding of how web pages are built using HTML. In addition, a good text editor with syntax highlighting can be an enormous support: It helps us distinguish the different parts of our code visually. If you’re using a text editor already in your daily work, we’d recommend to stick to that for the moment. If you haven’t used a text editor before, we would encourage you to try out Visual Studio Code, which works great out of the box.
If you run into difficulties in the tutorial, that’s our fault: Please let us know how we can assist you! The lab.js community convenes in the community support channel, where you’ll find kind folks to help answer questions and discuss how things work. You’re very warmly invited to join, and after going through this tutorial, you’ll be able to help others, too! Finally, we are also constantly trying to make the tutorial clearer and more helpful – if you have comments or suggestions, we would genuinely love to hear them.
Contents
Downloading the starter kit
To get up and running, the first thing you’ll need to do is download the starter kit attached to the latest release of lab.js. The starter kit is a zip archive containing all necessary files for building a simple experiment. Please extract it in a convenient location on your computer, and navigate to the folder containing the extracted files. That’s it!
Whenever you are building a new experiment in the future, you can start from a clean slate by downloading and building upon the latest starter kit. As you gather more experience, you might build your own starter kit using the code that helps you get to speed quickest – you are by no means limited to the template provided. However, you’ll always need the files in the ``lib`` folder of the starter kit, because that’s where the lab.js library files live.
A web page about to be turned into an experiment
Among the extracted files, you’ll find a file named index.html [1] . This is the web page that contains the initial experiment. Please open this file in a browser, by double-clicking the file or dragging it onto your browser window.
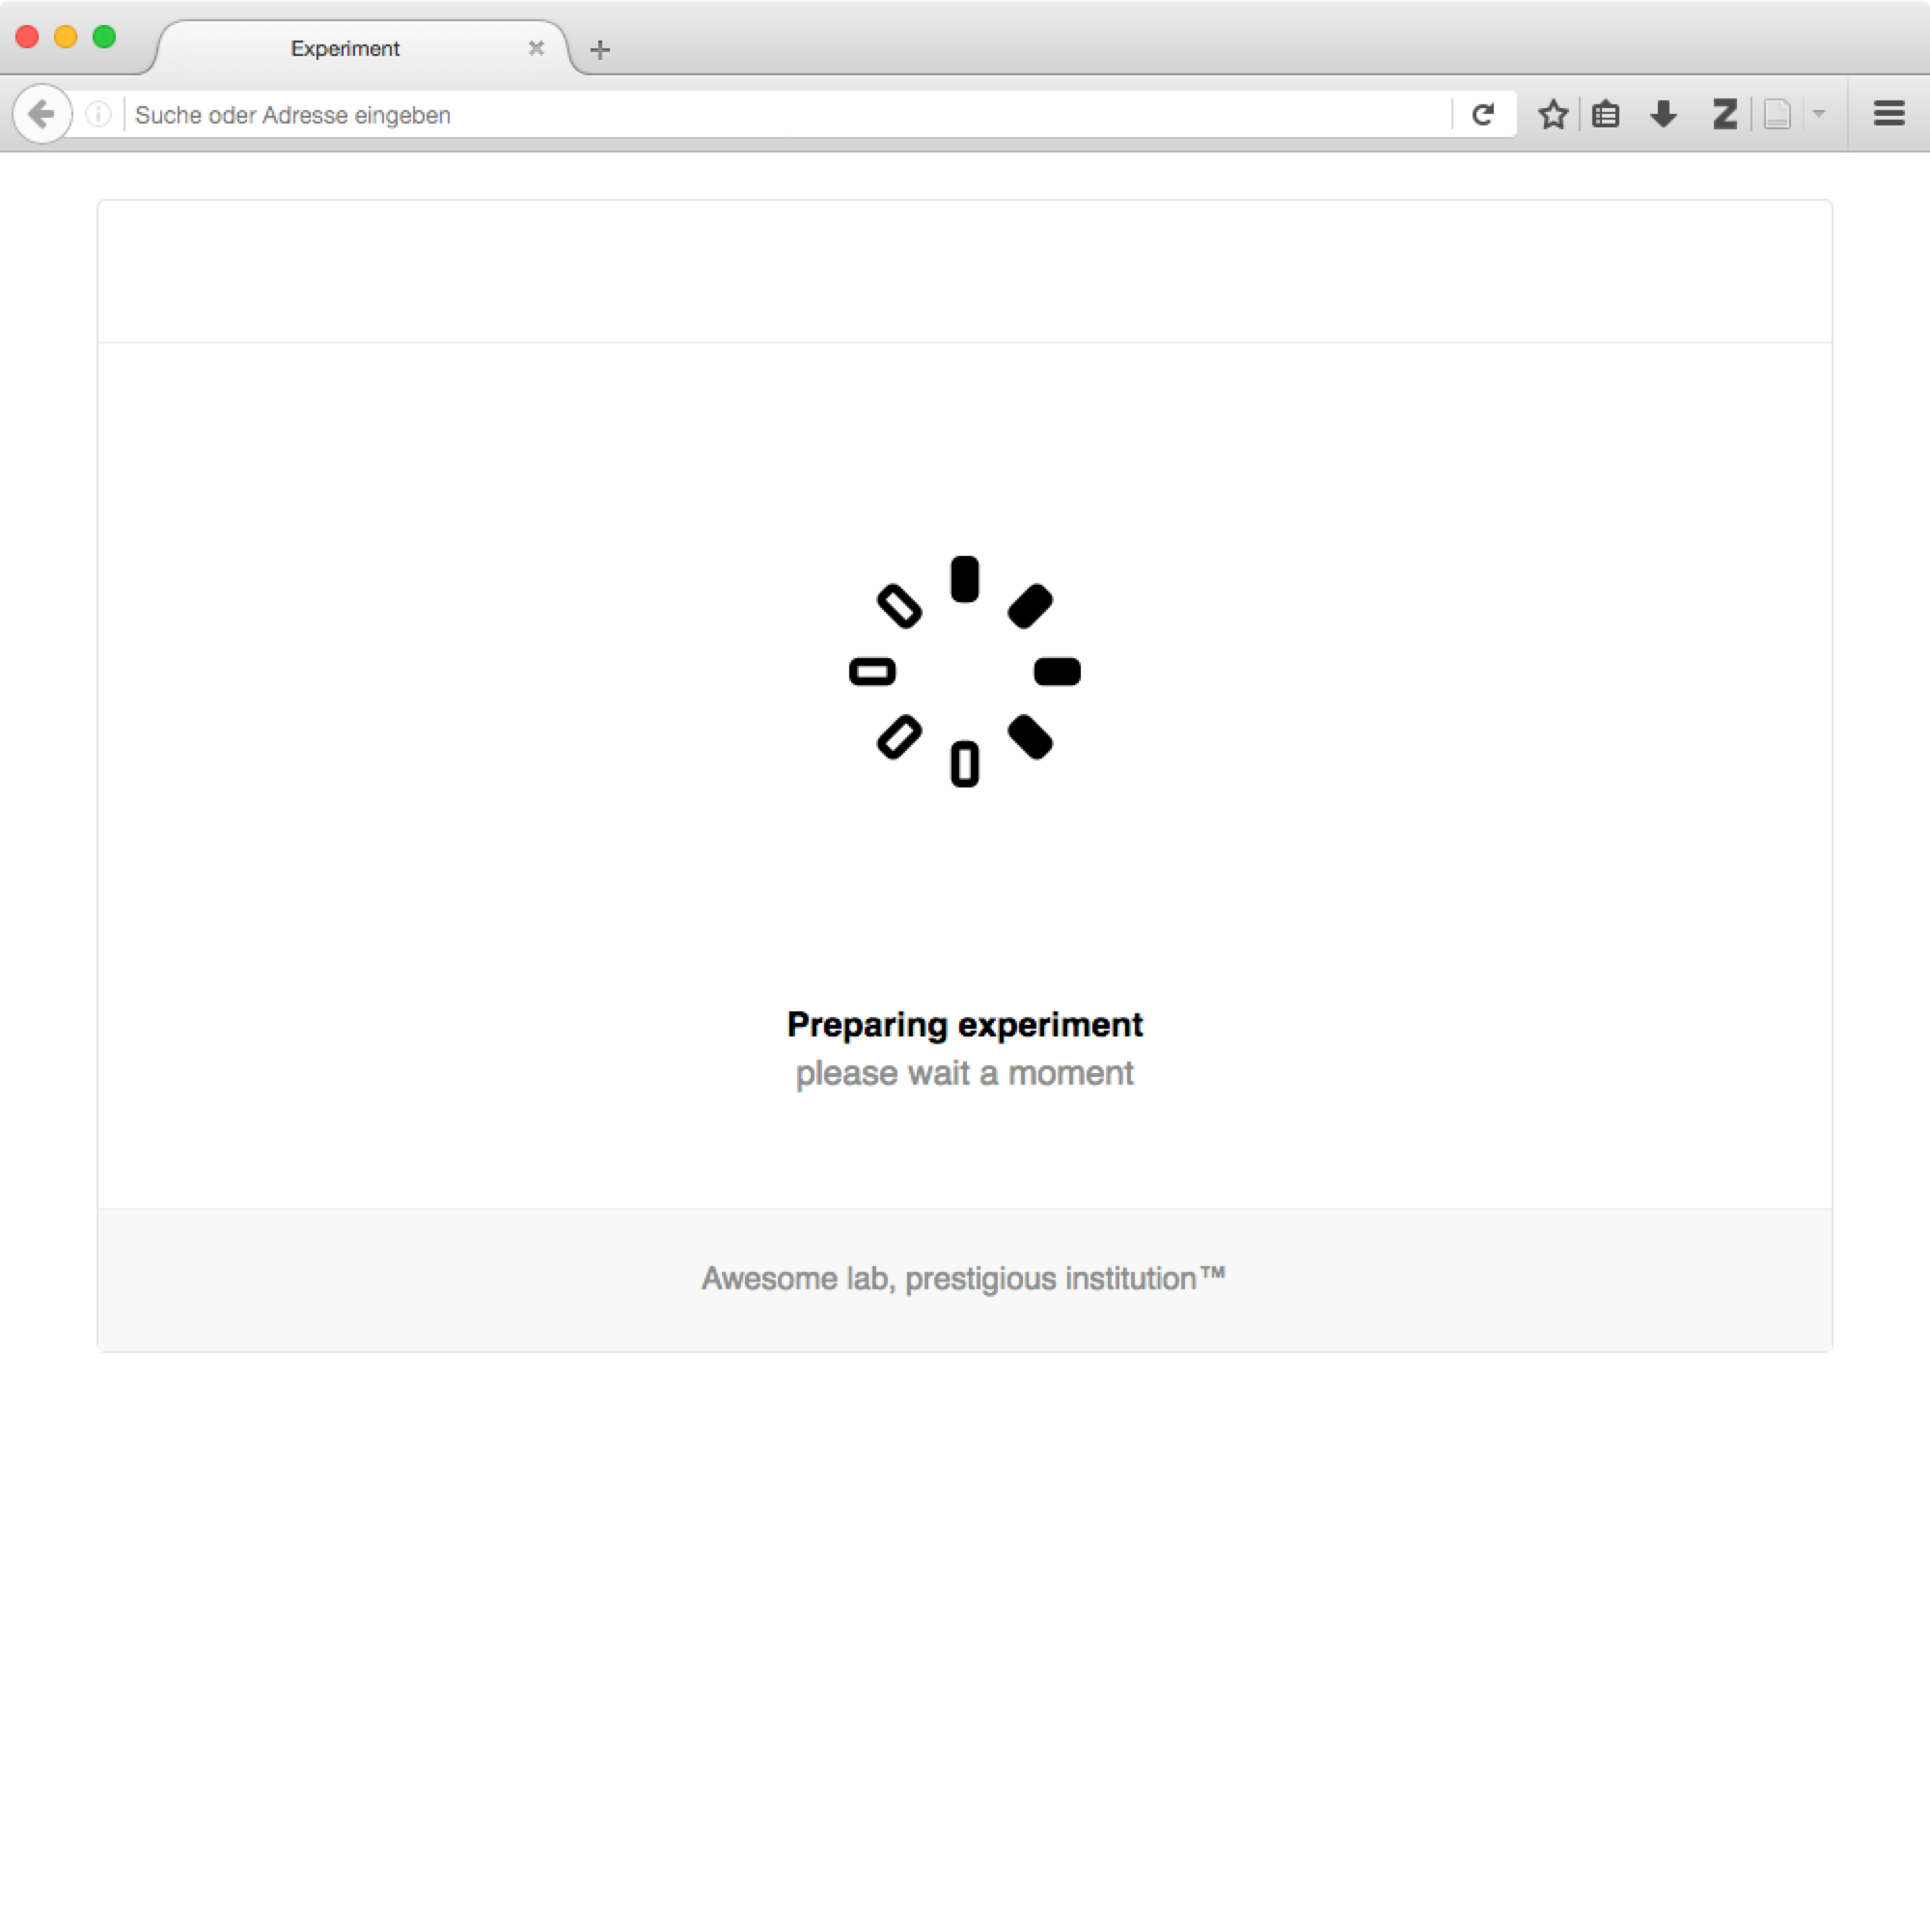
The page should look very similar to the example on the right, but please don’t anxiously wait for something to happen: it won’t. That’s because right now, there is no experiment to run – the file we opened just contains the loading screen, and because we haven’t provided a study for it to run, it will wait indefinitely at this point. The experiment we are about to build will replace this content, as we will see in the next step.
Before we move on, you might want to have a brief look at the code of the file you just opened. If you view it in your editor instead of the browser, you’ll see the underlying source code. If you like, take a closer look – here are some things you might notice:
- In the
headtag, there are quite a few references to outside files. In particular, we’re loading some external Javascript andCSS. These are provided withlab.jsand contain the library code and default styles. You might have also spotted a reference tostudy.js– that’s where we’ll define the actual study. - The
bodytag contains the page content. A closer look will reveal that everything is contained within adivtag of thecontainer fullscreenclass. This is what provides the rectangular frame you may have spotted on the page. - Within the container div, the content is subdivided into
header,main, andfooterelements. These correspond to the three areas on the page. Feel free to adjust the content as you see fit! - Finally, you might have spotted that the
mainelement has an attributedata-labjs-sectionwith the valuemain. That because the experiment content will go inside that element, and the surrounding parts of the page will remain unchanged. You can move this attribute, for example, to the surroundingdiv, which will allow you to replace the entire container content with every new screen.
So that’s the page structure we’re going to work within. Next, let’s go get an experiment to work!
See also
If you would like to find out more about how the design works, we discuss specifics of page layouts in the section styling your study.
How an experiment is built
The experiment runs on top of the basic HTML file you’ve just seen, by exchanging content when appropriate, and collecting and reacting to participants’ responses. This interaction requires JavaScript.
Let’s take a closer look at the study.js file included in the starter kit – that’s where the actual structure of the experiment is set up. In particular, we would like to draw your attention to a specific part of the code:
var study = new lab.flow.Sequence({
  content: [
    /* ... */
  ]
})
As you may have guessed, this snippet defines the experiment as a sequence of things. To be exact, the sequence component is retrieved from the flow control part of the lab library. Then, a new sequence is created and saved in the study variable. Some additional options are provided in the brackets, notably some content (omitted here). You might have noticed that the content is included in square brackets, which indicate that the content is a list of things (or, to use the common technical term, an array).
So what goes into the sequence content? Again, there’s an example in the starter kit:
new lab.html.Screen({
  content: 'Hello world!'
})
We hope that the similarities to the previous example become apparent: We’re building a new screen which is provided by the HTML part of the library. Again, there’s some content, this time a text string, which is more appropriate as content for a single screen than the list of things used in the sequence above.
This basic structure is worth taking another look at, because we’re going to come across it over and over again: We’re going to build components, specify some content (and possibly a few more options), and nest them within one another to build even complex experiments.
So why isn’t this working yet?
We apologize for keeping you in suspense for this long! If you take another look
at the remainder of the code in the file, there’s one more thing that happens: The study is started … or rather it isn’t yet, because us spoilsports have commented out the final line of code.
By uncommenting the final line and reloading the HTML page in the browser, you should see the code in action: Instead of the loading screen you saw before, the page should now contain the content you specified above.
Feel free to change the content to see that your changes to the code are reflected in the display. You might also try adding a second screen to the sequence – make sure that you don’t forget a comma to separate the two as you list them in the sequence content. Also, you might need to add an additional option like timeout: 1000 to the first screen to make sure that the experiment progresses beyond it!
Tip
Please don’t worry about breaking the code as you experiment: It can’t harm your computer. If something goes wrong, you can find the original version in the repository.
As before, we’d love to support you if you have questions at this point. Please don’t hesitate to reach out; we’d be thrilled to hear from you and happy to help as best we can.
Where to go from here
In this section, we hope that you’ve gained some familiarity with the starter
kit, that you’ve seen that experiments in lab.js operate by exchanging
page content, and that experiments consist of components with a regular
structure, and that can be nested to create even complex experiments.
As a next step, we’ll build upon your new knowledge and create more useful experiments using the exact same technique. We hope you’ll join us!
| [1] | Traditionally, the landing page visitors see first when navigating to
a web page is called index.html. It is solely out of convention that this
naming scheme has been adopted here, you are welcome to change it! |